Installation Process
Remove Grass
It’s time to remove the lawn that has caused you so much frustration over the years! The water bills, brown spots, mowing, and mud: say goodbye to it all. We recommend removing 2-4 inches of your existing lawn and top soil. Once removed we then level and compact the area. Keep in mind the top soil builds up fast and there are necessary measurements that are required to dispose of the soil properly. We have the necessary tools and equipment along with our artificial grass installation professionals that will make sure your project removal and disposal is done correctly.
Add Base
We add a heavy duty landscape barrier to keep the stone/road base in place to prevent any shifting or sinkage. Barriers provides a level surface of support and stability for years to come. Next, for the base evenly spread 3 inches of 2A modified road base or ¾ drain rock for optimal drainage. Final base layer is topped off with ¼ inch- ½ inch stone dust screening. Lightly wet the area and go over it with a compactor until you achieve a smooth surface with a compaction rate of 90%.
Optimal Base Drainage System Installed
The DIFFERENCE between Fairway Turf & Artificial Grass LLC is our optimal drainage panel base system that allows for maximum drainage and airflow to keep your artificial grass clean & forever green. Keeping your grass lifted above the base keeps it free from bacteria, mold, and mildew while reducing pet odor up to 90%! This drainage system provides excellent support and a flat surface for your grass to lay perfectly on top off. It has proven so successful that we now install it with everyone of our Pet Turf and Putting Green installations with 100% customer satisfaction.

Lay Turf
Roll out your new artificial grass and be careful not to drag your turf across your freshly prepared base. It is best to allow your turf to lay flat in the sun for one hour to allow for expansion prior to installation. When working with multiple rolls, it is very important that the blade direction and stitch patterns are facing the same way, Crossing blade directions will result in a poor appearance. Once finished artificial grass will be secured using staples and 6inch galvanized nails along the perimeter.
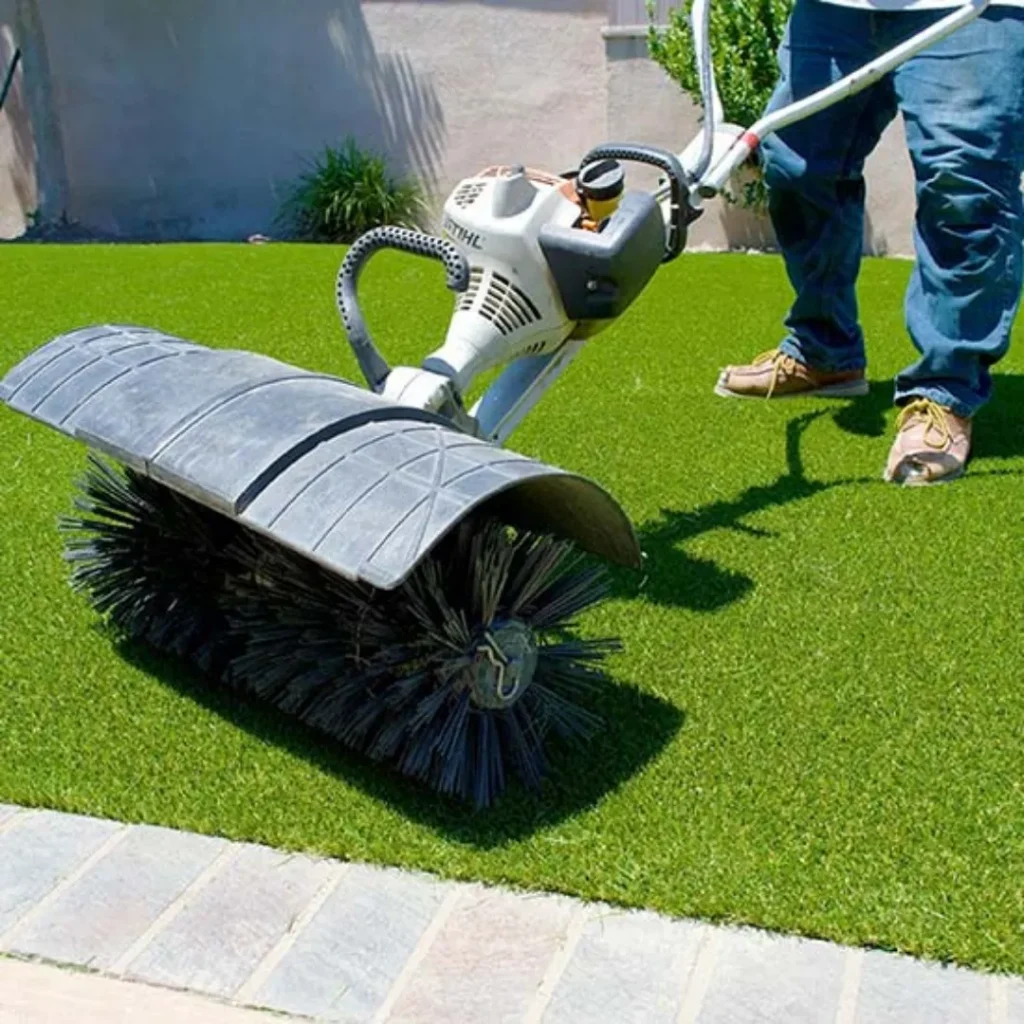
Spread And Brush Infill
The proper amount of infill will affect the appearance, performance, and life span of your artificial grass. We use a drop spreader to evenly dispense the proper amount of infill. Once infill has been place we use a stiff bristled power broom to brush the turf. This will assist the turf blades in standing straight up and make your new artificial lawn look like freshly mowed grass. Brushing up your turf blades will be the only quarterly maintenance we recommend outside of proper sanitation if you have pets. Once the infill has been placed, brush against the grass blades to get the blades standing. Lastly, rinse thr grass of all remaining dust and infill.
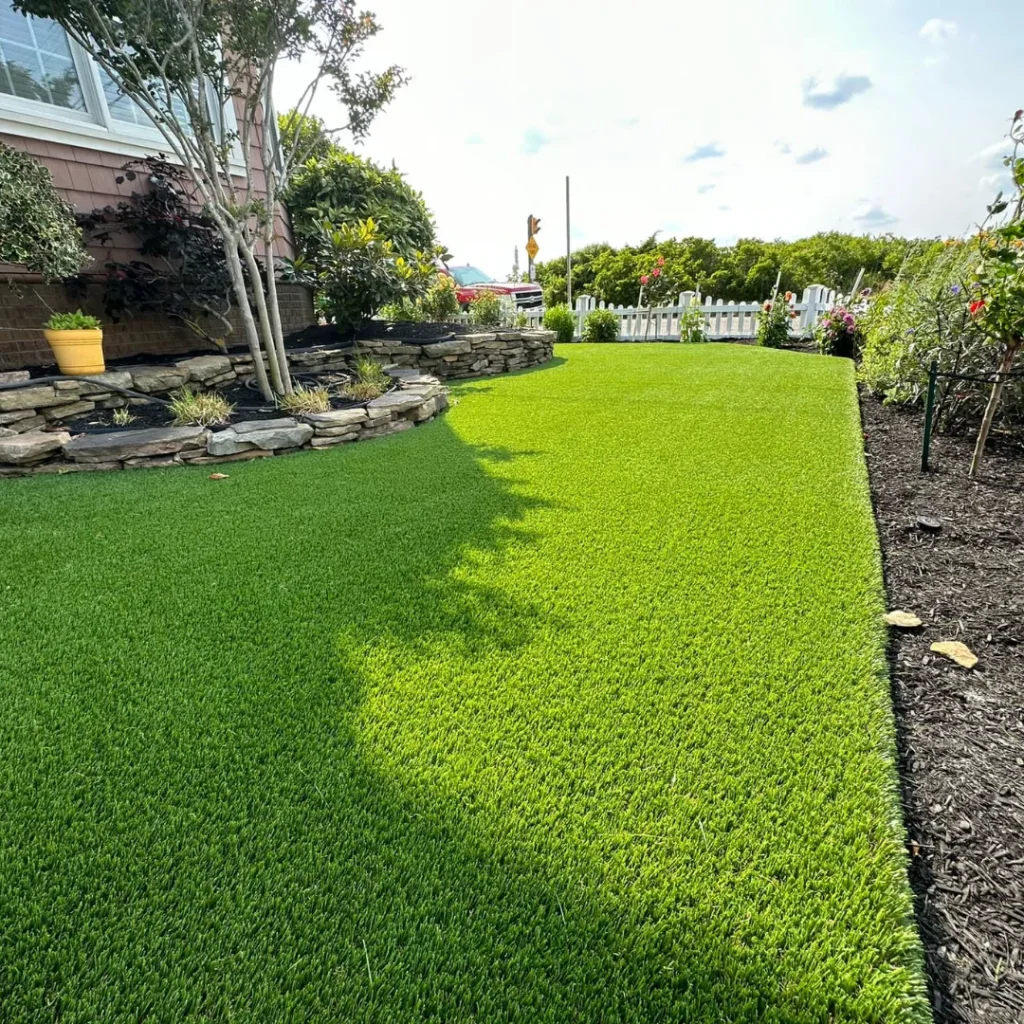
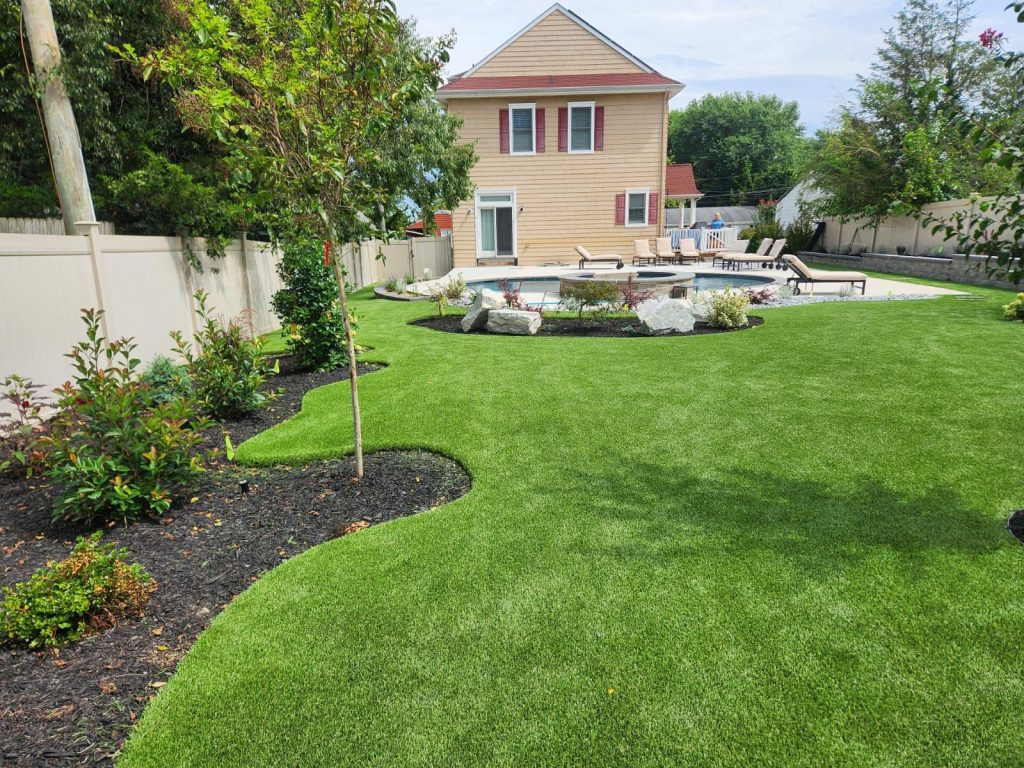
Enjoy Your Clean And Forever Green Artificial Grass
There is very minimal maintenance after installation is completed. Occasional brushing up the blades with a push broom will ensure you’re blades stay firm. Also you can use a power blower to keep leaves and debris from settling in your turf. For Pet Installations all you have to do is spray down area 2-4 times a month to keep your turf clean and forever green. Enjoy!